Manage viam-agent
viam-agent is installed as a systemd service named viam-agent.
To start
viam-agent:sudo systemctl start viam-agentTo stop
viam-agent:sudo systemctl stop viam-agent
Alert
When you stop viam-agent, the agent will stop viam-server as well.
- To restart
viam-agent:
Alert
When you restart viam-agent, the agent will restart viam-server as well.
sudo systemctl restart viam-agent
To completely uninstall
viam-agentandviam-server, run the following command:sudo /bin/sh -c "$(curl -fsSL https://storage.googleapis.com/packages.viam.com/apps/viam-agent/uninstall.sh)"This command uninstalls
viam-agent,viam-server, the machine cloud credentials file (/etc/viam.json ), and the provisioning configuration file (/etc/viam-provisioning.json ).
On Windows, you can manage viam-agent using the Services GUI or the command line:
Open the Services management console from your computer’s start menu.
Find
viam-agentin the list of services.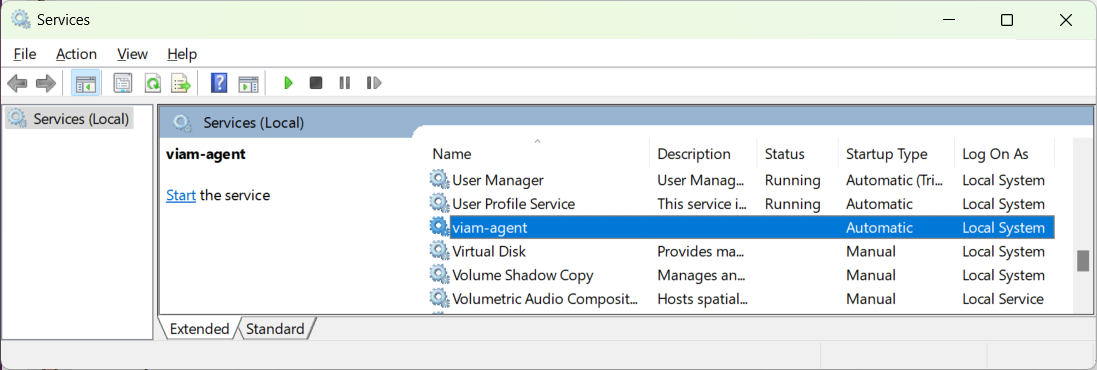
Use the Start Service, Stop Service, and Restart Service buttons to manage
viam-agent.To change the startup type of
viam-agent, right-click onviam-agentand select Properties. Select your desired startup type from the Startup type dropdown menu.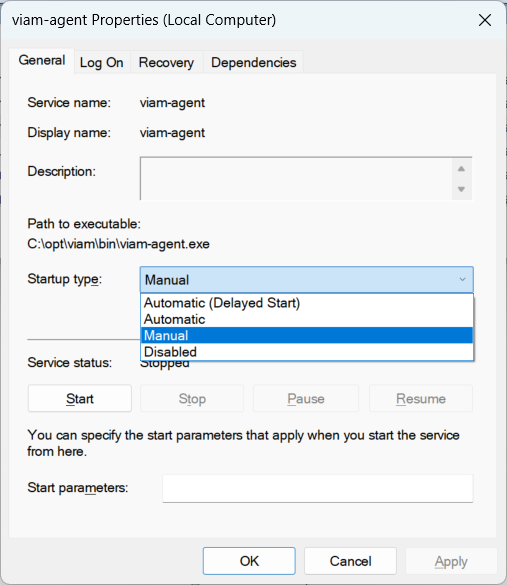


Open a PowerShell prompt, selecting Run as administrator.
Use the following commands to manage
viam-agent:To start
viam-agent:Start-Service viam-agentTo stop
viam-agent:Stop-Service viam-agentTo restart
viam-agent:Restart-Service viam-agentTo change the startup type of
viam-agent, use one of the following commands:Set-Service -Name "viam-agent" -StartupType Manual Set-Service -Name "viam-agent" -StartupType Automatic
Troubleshooting
You can find assistance in the Troubleshooting section.
Was this page helpful?
Glad to hear it! If you have any other feedback please let us know:
We're sorry about that. To help us improve, please tell us what we can do better:
Thank you!